Monster Art
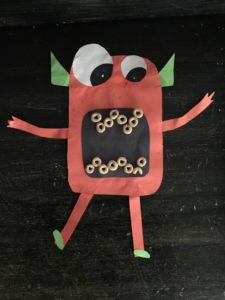
Supplies:
- Green, orange, black and white construction paper
- Glue, scissors, black sharpie
- Cheerios or Candy Corn
Directions:
- Cut out arms, legs, feet, ears, body, mouth, eyes (on the eyes, use the black sharpie to draw on different sized eyeballs on the white paper).
- Glue the arms, legs and ears on the backside of the orange body.
- Glue on the 2 eyes and 2 feet.
- Now glue on the black mouth.
- I glued on cheerios to make my monster’s teeth because those are my sons favorite snack. I have also used Candy Corn for the teeth of the monster, and I think it looks really cute. Using candy corn makes the monster have more jagged teeth. Make sure the white tip of the candy corn points inward in the mouth.
Jack-O-Lantern Mosaic Art
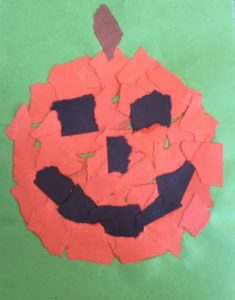 Supplies:
- Green, orange, black and brown construction paper
- Glue
- That’s It!
Directions:
- Take the orange, black and brown construction paper and rip them all up into all different size pieces.
- Have your little ones glue on orange pieces to make a pumpkin shape on the green paper (remember pumpkins can be short, wide, tall, circle and oval shaped).
- Then put some more glue on top of the orange paper for the eyes, nose and mouth of the jack-o-lantern. Ask your child how many eyes they want the pumpkin to have, what shape nose they want, and if they want a happy, mad or sad mouth and why. It’s a great opportunity to have fun and learn about counting, shapes, colors, storytelling and emotions at the same time.
- Lastly glue on the brown piece for the stump on top.
Spooky Ghost Windsock
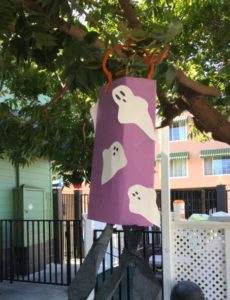
Supplies:
- Purple and white construction paper
- Orange pipe cleaner
- Glue
- Black sharpie
- Black streamers
- Stapler
Directions:
- Cut out ghost shapes from the white paper and with the black sharpie make 2 eyes and a mouth.
- Glue the ghosts onto the purple paper and then roll it into a cylinder shape and staple together.
- Hole punch a hole on either side of the purple paper and twist in the pipe cleaner to make a handle.
- Next cut strips of black streamers and glue them to the inside of the purple paper.
- You’re done! Now hang either somewhere in your house, backyard or by your front door to show off your Halloween spirit.
Print Projects
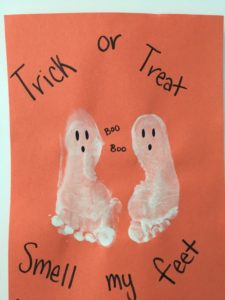
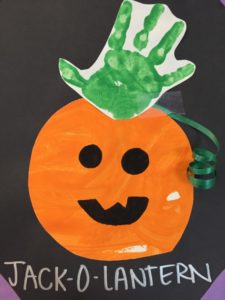
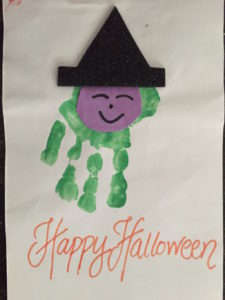
Supplies:
- Different color paint
- Different color construction paper
- Glue
- Scissors
- Black sharpie
Projects:
- Footprint Ghosts
- Hand print Pumpkin
- Hand print Witch
*I usually make these into a folded card size and send them out to our family from my son as a Halloween card. It’s a fun way to do art projects together and be able to share a holiday keepsake with the whole family!
My Favorite Halloween Books:
These are some fun, interactive (some are sing-along) Halloween books. You can get really festive by reading them with your child and then doing the attached art project to really make it a learning experience!
with Hand print Witch, Footprint Ghosts, Spooky Ghost Windsocks or Monster Art
with Jack-O-Lantern Mosaic Art or Hand print Pumpkin
with Spooky Ghost Windsocks or Footprint Ghosts
with any of the projects since all are talked about in the book
with Handprint Witch
Have fun and please share your special Halloween art time with us! #sfmomsblog


