


[easy-image-collage id=14143]
Every year, we’ve created handmade (or sometimes… foot-made) Christmas gifts for the grandparents. And, I’ll admit, in part because I wanted a cute keepsake decoration, too! For weeks, I scour blogs and Pinterest for the most adorable holiday crafts, finally landing on the perfect one—which inevitably has no less than 29 steps to complete and/or involves equipment that I don’t own. But once I’ve found the “perfect” one, my mind is set and I’ll figure out a way to get it done, even if it kills me… which many years, it nearly does!
This year’s handprint project wasn’t the toughest we’ve done, though it certainly wasn’t the easiest either. But aren’t they just so cute?! It’s worth it, trust me. Here’s how it’s done.
Part 1: Making the Dough
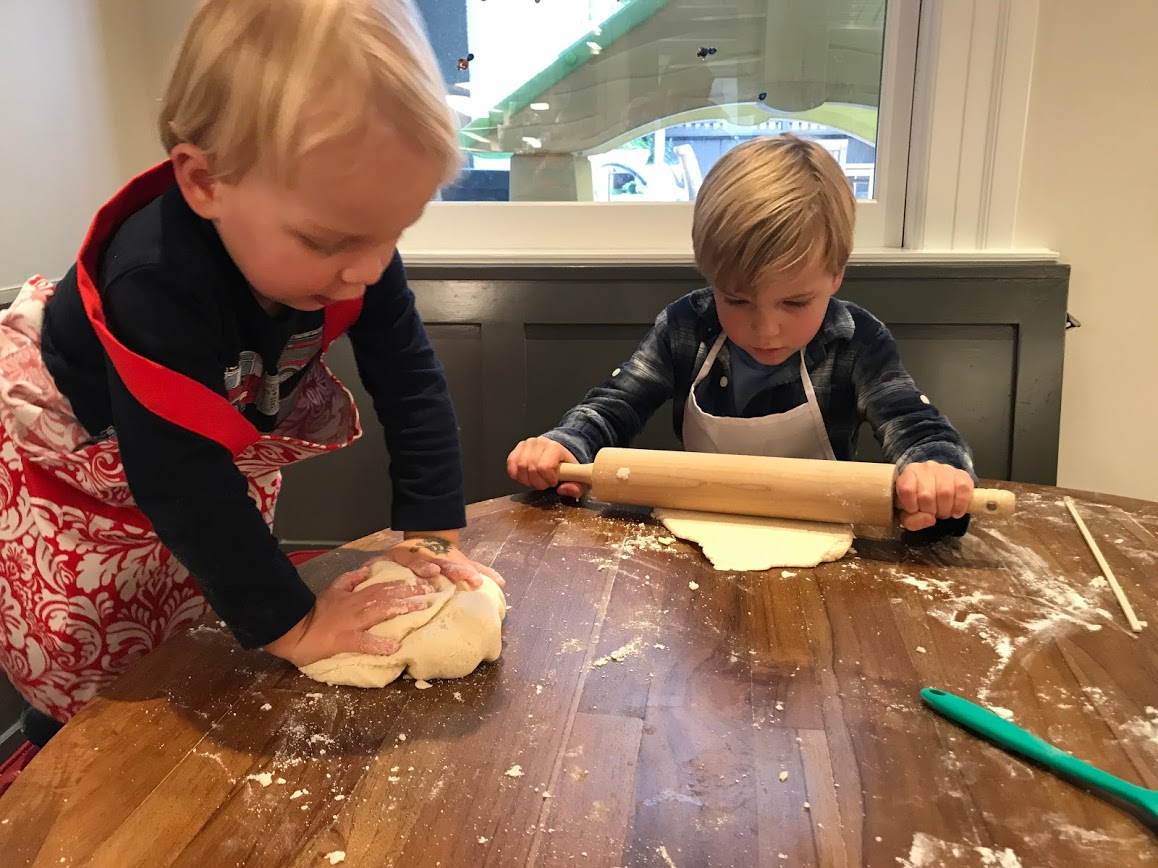
If you don’t even make it past Part 1, this project will still be a success. Making salt dough was a fun activity for my 20-month-old to literally dig his hands into, and it occupied my 4.5 year old for over two hours. Yes! Over 2 hours.
This part is seriously simple—though it does make a bit of a mess.
-
Mix 1 c all-purpose flour and 1 c table salt in a large bowl
-
Add ⅓ – ⅔ c warm water and mix to achieve the desired consistency. Not too sticky, not too dry.
[easy-image-collage id=14140]
Roll the dough into flat circles using a rolling pin. Ideally, you want dough that’s about ½” thick, maybe a tad less. Thicker dough simply does not work for this.
Part 2: The Handprints
Lay the dough on a cookie sheet covered with wax paper or a Silpat mat. Note: After the handprint(s) are done, you can’t really move the dough, so think carefully about how you lay it out. Have your little one(s) sit at the table. This part is important and will enable you to get the cleanest handprint. Once seated, bring the cookie sheet to them and help them place their hand firmly on top. Push down on their hand—each finger and the back of the hand—to make an impression. Expect to have to re-roll the dough a couple of times; it’s unlikely to be perfect on the first attempt.
If you’d like to hang your creations, use a chopstick to poke a hole in the top. This will be used to thread a ribbon through later.
We also added name stamps and a date. If you don’t have stamps or forget this step, you can always write it on with a Sharpie at the end.
[easy-image-collage id=14141]
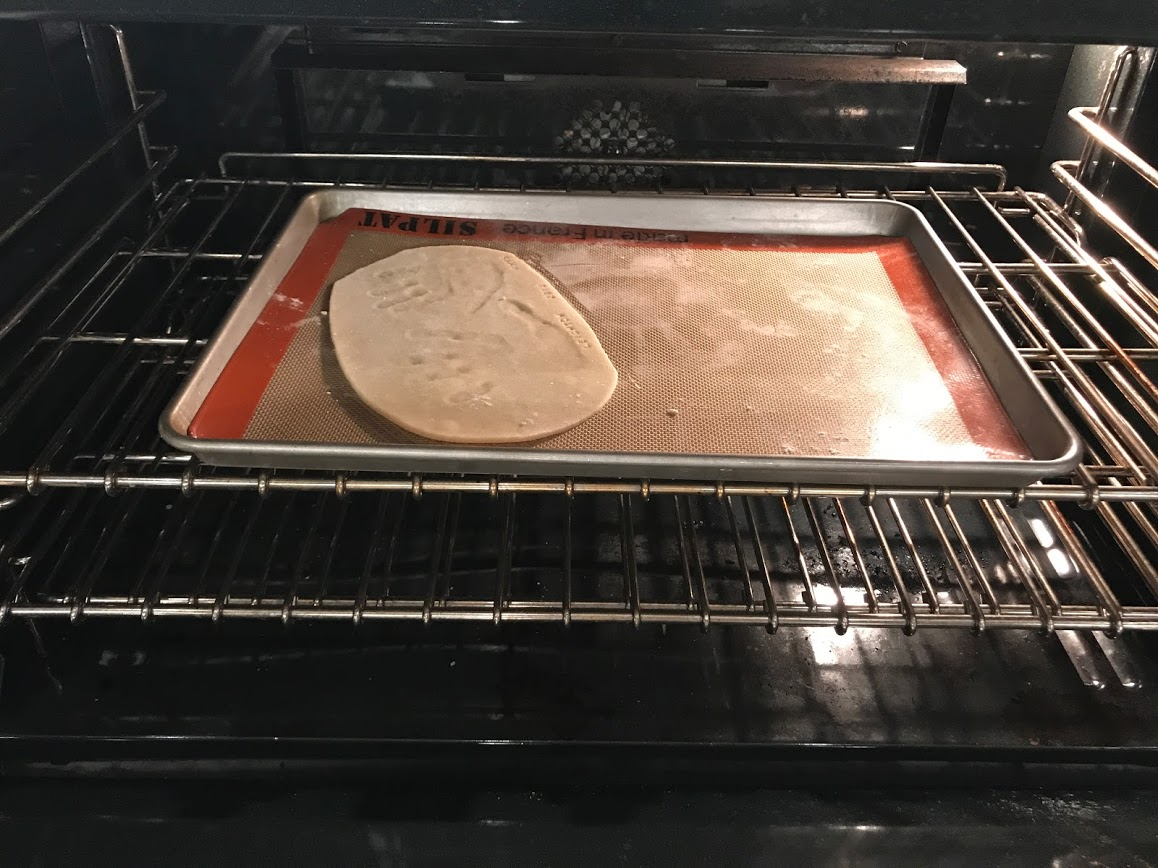
Part 3: Drying the dough
Place the cookie sheets in the oven on a very low-temperature setting. 150 degrees F is ideal; 200 degrees will work, but keep a close eye on it. Allow the dough to dry for hours if not days. My method was to turn the oven on to 150 degrees for 4-5 hours, then turn it off but leave the decorations inside with the oven closed overnight. Repeat the process the next day. This can take up to 3 days, the longest part of the whole activity! It’s important to fully dry the dough, or else the paint won’t properly take and the decorations won’t last.
Part 4: Painting
This is also a fun activity for the kids if you’re ok with a less-than-perfect end product. Also be aware that the best paints to use for this project are acrylic, as they deliver the brightest, deepest colors; however they are not washable. For our designs, we painted some snowmen and some Christmas trees.
When painting, think about layering the colors. For the snowmen, we first painted the white snow, then added hats/scarves after the white paint had dried. We took a similar approach with the Christmas trees – green first, let it dry, then add colorful ornaments on top.
[easy-image-collage id=14142]
Part 5: Shellac
After the paint has completely dried, spray a coating of clear shellac on top to seal it in and strengthen the piece. Let dry again.
Part 6: Finishing Touches
Finally, add a ribbon through the hole at the top, use a thin black Sharpie to add fine details like the snowmen’s eyes, write the kids’ names beneath the handprints and… you’re done!
When we mailed these to grandparents, I covered them first in a sheet of parchment/wax paper to keep the tissue paper that I used to wrap them in from sticking to them. Bubble wrap the heck out of them and they’re ready for a trip on the UPS truck.
[easy-image-collage id=14143]
After having done four years of hand- or foot-print holiday keepsakes, I am officially making it an annual tradition. I just love looking back over the years to see how those little hands have grown. Though as the clock struck midnight last Sunday night and I was out on the deck spraying these little suckers with shellac, my husband pulled out his phone camera. For next year, he said, when I have yet another brilliant craft idea.


Such a creative holiday tradition! Great way to bond with the kids and keep tradition alive in an inexpensive and personal way. Definitely will try this with my family. Thanks for sharing!